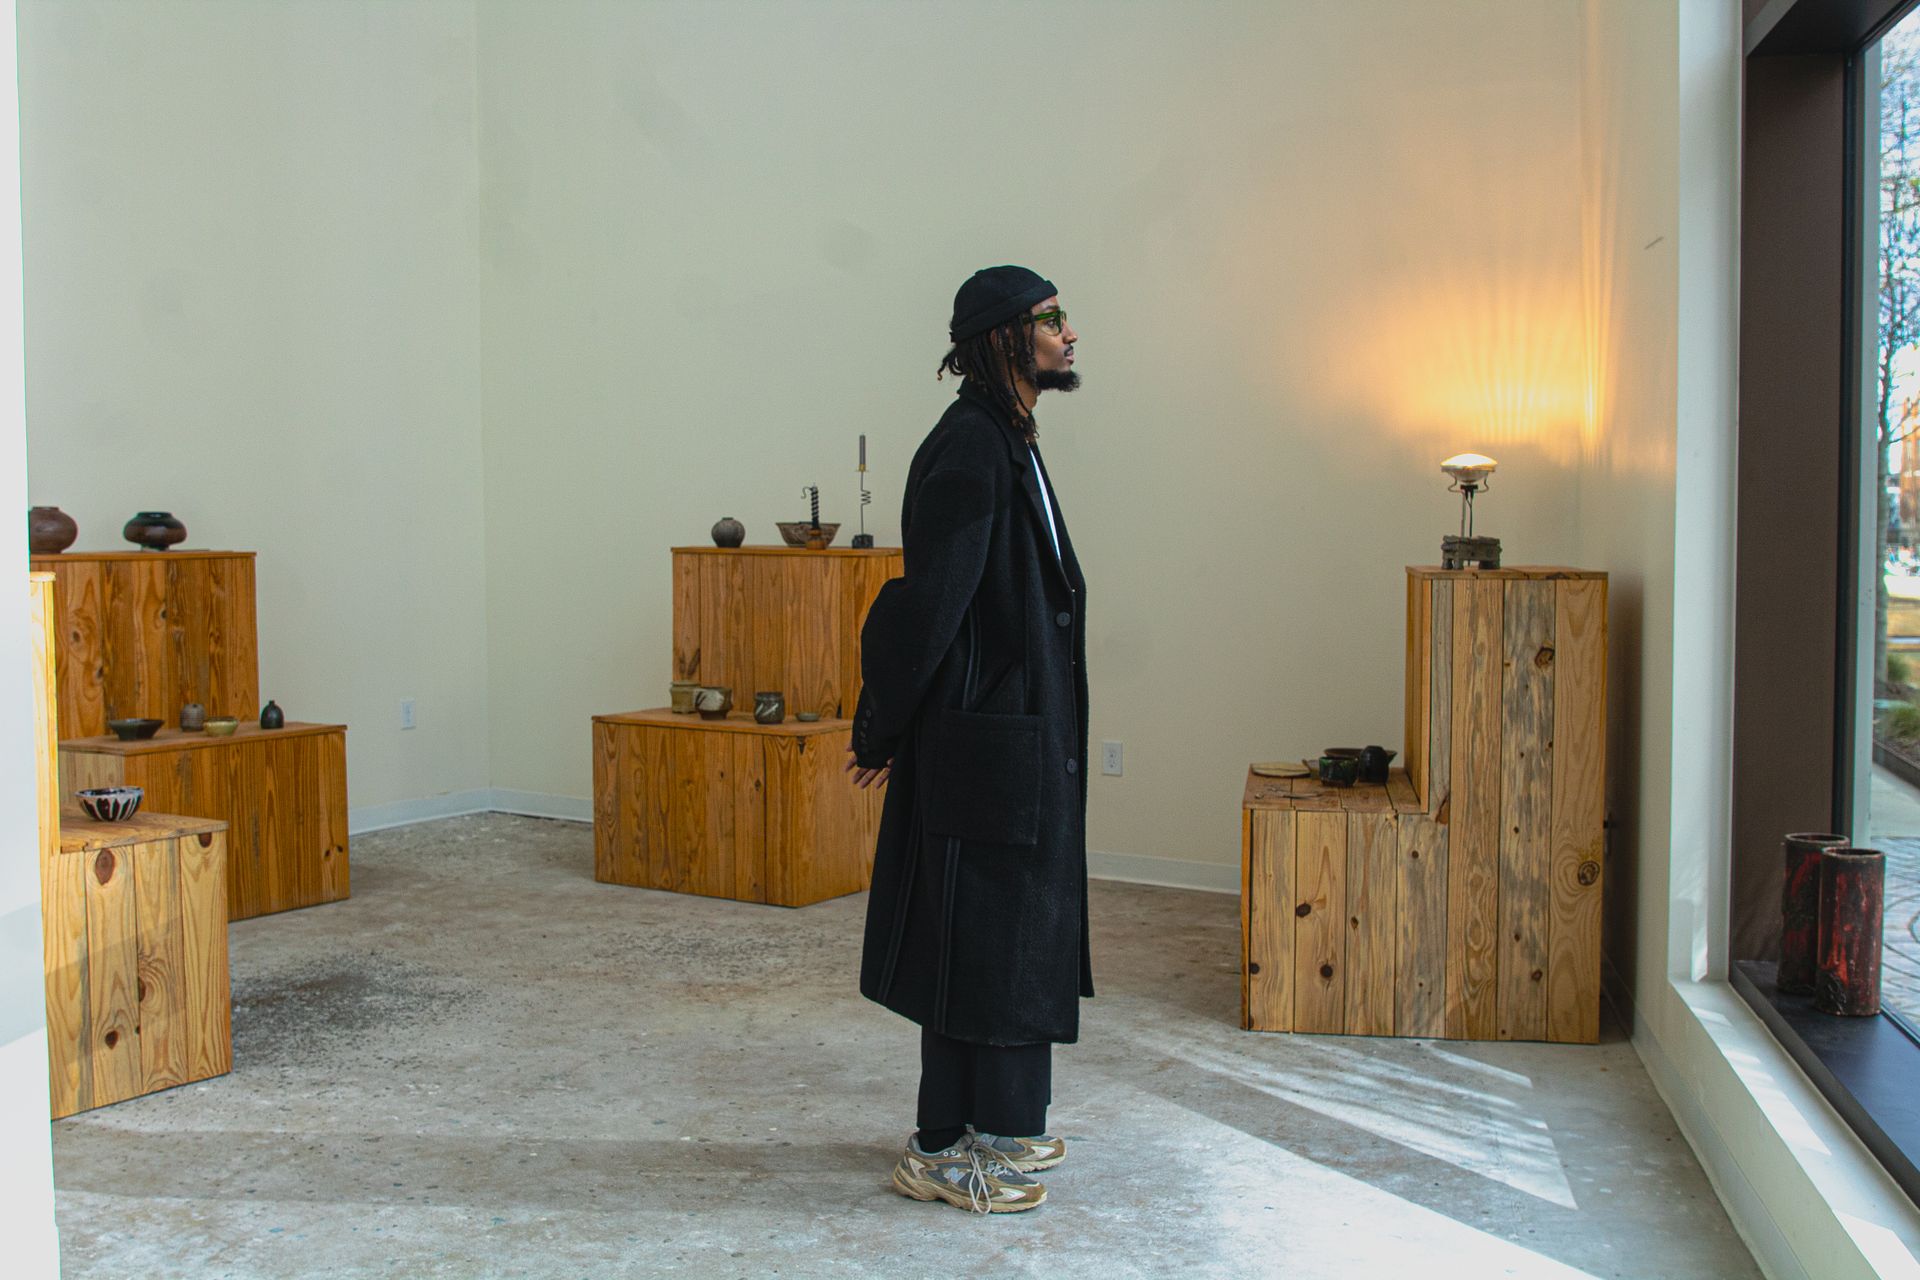
5 Essential Photography Tips
Photography is a magical art form that allows us to capture moments, tell stories, and express our creativity. If you’re a beginner, you might feel overwhelmed with all the settings, techniques, and gear options out there. But don’t worry! Photography is a journey, and with a few essential tips, you can start taking great photos right away.
In this blog post, we’ll explore five essential photography tips for beginners that will help you improve your skills and enjoy the process. Let’s dive in!
1. Understand Your Camera
Before you can take amazing photos, you need to understand how your camera works. Knowing your camera's features and settings is crucial whether you have a DSLR, mirrorless, or even a smartphone. Here are some key things to focus on:
Read the Manual
It might sound boring, but reading the manual that comes with your camera is extremely helpful. The manual will explain what each button does, how to navigate the menu, and what different settings mean. You don’t have to memorize everything, but having a general understanding will make your photography experience much smoother.
Explore the Basic Settings
Here are the basic settings you should get familiar with:
- Aperture: Controls the amount of light that enters the camera. It also affects the depth of field, which is how much of your photo is in focus.
- Shutter Speed: Determines how long the camera’s sensor is exposed to light. It affects how motion is captured in your photo.
- ISO: Controls the camera’s sensitivity to light. A higher ISO can help you shoot in low light but can also introduce noise (graininess) to your photos.
- White Balance: Adjusts the color temperature of your photos to make them look more natural under different lighting conditions.

Practice in Different Modes
Many cameras come with various shooting modes like Auto, Manual, Aperture Priority (A), Shutter Priority (S), and Program (P). Start with Auto mode to get a feel for composition and framing. As you become more comfortable, experiment with other modes to gain more control over your shots.
Manual mode gives you full control but can be challenging at first. Aperture Priority and Shutter Priority modes are great for learning how aperture and shutter speed affect your photos.
2. Learn the Rule of Thirds
Composition is one of the most important aspects of photography. One simple and effective way to improve your composition is by using the rule of thirds. This rule helps you create balanced and interesting photos.
What is the Rule of Thirds?
The rule of thirds divides your image into nine equal parts using two horizontal and two vertical lines. The concept involves positioning the key components of your image along these lines or at the points where they intersect. This creates a more engaging and visually appealing composition.
How to Apply the Rule of Thirds
Most cameras and smartphones have a grid feature that you can turn on in the settings. This grid will help you see the rule of thirds while you’re framing your shot. Here are some tips for using the rule of thirds:
- Horizon Line: When shooting landscapes, place the horizon line along the top or bottom third of the grid, not in the middle. This makes your photo more dynamic.
- Subjects: Place your main subject at one of the intersections of the grid lines. This draws the viewer’s eye to the subject and creates a balanced composition.
- Leading lines: Use natural lines like roads, rivers, or fences in your scene to direct the viewer's attention to the main subject.

Ready to bring your visuals to life?
Schedule a meeting to discuss your vision.
Breaking the Rule
While the rule of thirds is a great guideline, don’t be afraid to break it when necessary. Sometimes, centering your subject or using symmetry can create a powerful image. The key is to understand the rule first so you can break it intentionally and creatively.
3. Master Lighting
Lighting is crucial in photography. It can make or break your photo. Understanding how to work with light will significantly improve your images.
Natural Light
Natural light is the easiest and most accessible light source for beginners. Here are some tips for using natural light effectively:
- Golden Hour: The hour after sunrise and the hour before sunset. The light during these times is soft and warm, creating beautiful, flattering photos.
- Overcast Days: Cloudy days provide soft, diffused light, which is perfect for portraits and close-up shots. The clouds act as a natural diffuser, reducing harsh shadows.
- Window Light: Indoors, use light coming from a window. Position your subject next to the window for soft, natural light. You can use a white curtain to diffuse the light if it’s too harsh.
Artificial Light
Sometimes, you might need to use artificial light sources. Here are some basic types and how to use them:
- Flash: Built-in camera flashes can be harsh. If possible, use an external flash and bounce it off a wall or ceiling to soften the light. You can also use a diffuser to spread the light more evenly.
- Continuous Lighting: These are lights that stay on, like lamps or LED panels. They’re great for studio setups and give you control over the lighting. Position them at different angles to create the desired effect.
- Reflectors: Reflectors bounce light back onto your subject, filling in shadows. They’re inexpensive and come in various sizes. A piece of white cardboard can work as a DIY reflector.

Ready to bring your visuals to life?
Schedule a meeting to discuss your vision.
Light Direction
The direction of light affects how your subject looks:
- Front Lighting: Light hitting the subject from the front. It evenly lights the subject but can make it look flat.
- Side Lighting: Light coming from the side creates shadows and depth, adding texture and dimension.
- Backlighting: is when light comes from behind the subject, creating silhouettes or a rim light effect for dramatic photos.
4. Focus on the Subject
A strong focal point makes your photo more interesting and engaging. Here’s how to ensure your subject stands out:
Choose a Clear Subject
Your subject should be the main point of interest in your photo. It could be a person, an object, or a landscape feature. Make sure it’s clear what the subject is, and avoid cluttered backgrounds that can distract from it.
Use Depth of Field
Depth of field is the area of your photo that’s in focus. A shallow depth of field (which blurs the background) can make your subject stand out. Here’s how to achieve it:
- Aperture: Use a wide aperture (low f-number like f/1.8 or f/2.8) to create a shallow depth of field.
- Distance: Get closer to your subject. The closer you are, the shallower the depth of field will be.
- Lens: Longer focal length lenses (like 85mm or 100mm) naturally create a shallower depth of field.
Eliminate Distractions
Pay attention to the background and remove any elements distracting from your subject. Change your angle, move your subject, or use a wider aperture to blur the background. Keeping the focus on the subject helps tell a clearer story.
Ready to bring your visuals to life?
Schedule a meeting to discuss your vision.
Experiment with Angles and Perspectives
Changing your perspective can add interest and drama to your photos. Here are some ideas:
- High Angle: Shoot from above to make your subject look smaller or more vulnerable.
- Low Angle: Shoot from below to make your subject look larger or more powerful.
- Unique Angles: Try shooting from different angles, like through objects or reflections, to add a creative touch.
5. Practice and Experiment
The best way to improve your photography skills is to practice and experiment. Don’t be afraid to make mistakes—they’re a part of learning. Here are some tips to help you get the most out of your practice sessions:
Shoot Regularly
Take your camera with you and shoot as often as possible. Practice different types of photography, like landscapes, portraits, street photography, and macro. The more you shoot, the better you’ll understand your camera and develop your style.
Analyze Your Photos
After each shoot, review your photos and analyze what worked and what didn’t. Pay attention to composition, lighting, focus, and exposure. Identify areas for improvement and try to apply what you’ve learned in your next session.
Learn from Others
Look at photos from photographers you admire and analyze their work. What makes their photos stand out? Try to incorporate similar techniques in your work. Joining photography communities, both online and offline, can provide valuable feedback and inspiration.
Experiment with Editing
Post-processing can enhance your photos and correct minor issues. Learn the basics of photo editing using software like Adobe Lightroom, Photoshop, or free alternatives like GIMP.
Adjust exposure, contrast, colors, and cropping to improve your images. However, be careful not to over-edit. Strive for a natural look that enhances your photo rather than drastically changing it.
Set Challenges
Challenge yourself with photography projects or themes. For example, take a photo a day, focus on a specific color, or try shooting in black and white. Setting challenges keeps you motivated and helps you explore new techniques and styles.
Photography is a rewarding and fulfilling hobby that allows you to capture and share the beauty of the concept. It involves seeing the world around you through photos. Practice often to improve your photography skills. Learn about your camera, the rule of thirds, lighting techniques, and focus on your subject.
Remember, the journey is just as important as the destination. Enjoy the process, keep experimenting, and most importantly, have fun!
By following these essential tips, you’ll be well on your way to capturing stunning photos that you’ll be proud to share. Happy shooting!Start writing here...
Watch YouTube video
Understand more about Color Psychology.


5 Essential Photography Tips